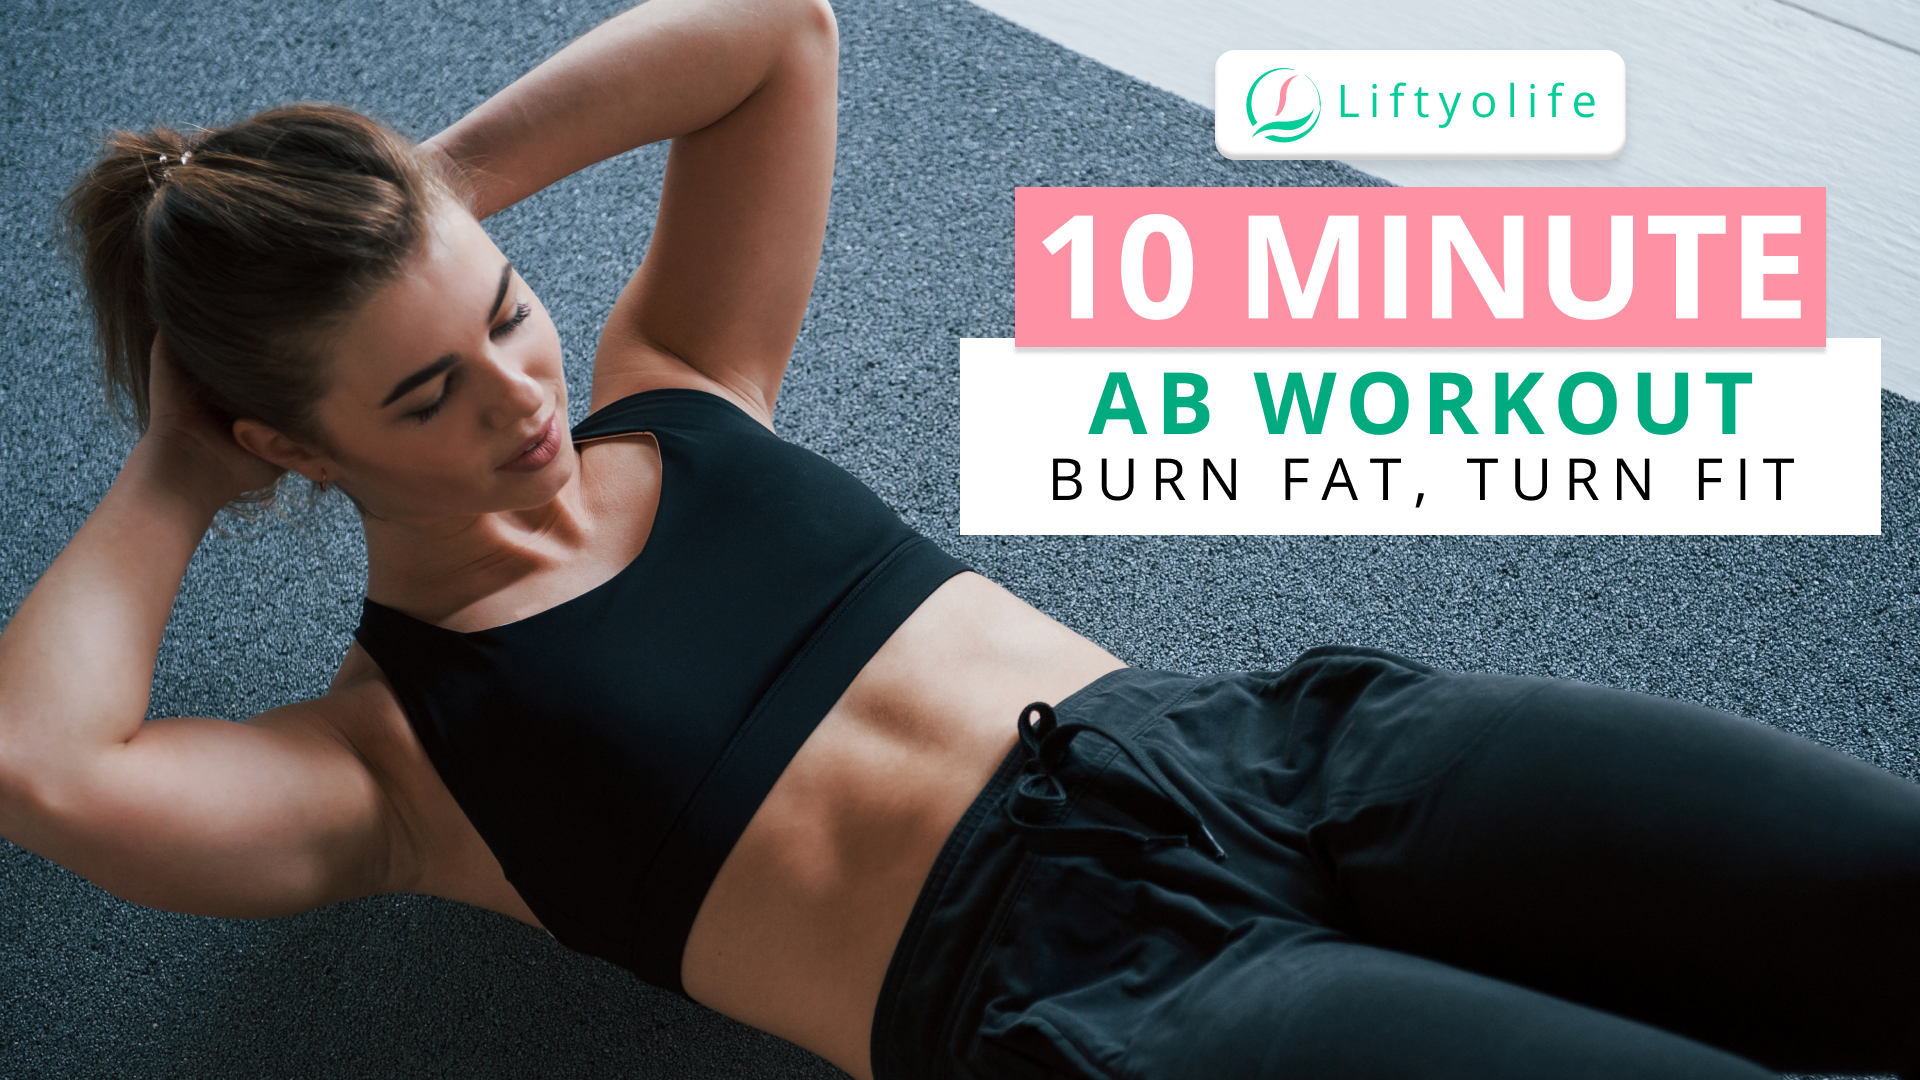
10 Minute Ab Workout Build Your Core Strength

Do you think a 10 minute ab workout can help you build core strength? That is not far from your grasp, and you’ll also have six-pack abs in doing so. It’s time to get started with these core exercises that will help you burn fat quickly and get in shape in at least one week. Let’s start today, no pain, no gain. Liftyolife (liftyolife.com) provides the best ab exercises you can do anywhere as below. Keep your eyes on this article.
1. Mountain climber twist
Muscle group: abs, obliques, glutes, hips, legs, chest, and shoulders.
- Instructions
-
- Begin by standing on your hands and toes (plank position), with your hands slightly wider than shoulder-width apart.
- Raise your left knee, close your right elbow and quickly alternate legs while keeping your core muscles tight.
- Do this exercise for 60 seconds, then rest for 15 seconds.
- Breathing pattern and proper form: The key to this exercise’s success is to keep your core engaged, your hips low, and your head, neck, and back aligned. Slowly inhale and exhale while maintaining a steady and controlled movement.
2. Plank
Muscle group: abdominals and core muscles.
- Instructions
-
- Choose a proper position that allows you to extend your entire body length.
- Using an exercise mat will provide you with sufficient padding to be comfortable on all fours. You can perform a plank on either your palms or your forearms.
- Begin in a plank position, face down, forearms and toes on the floor. Reduce your body weight until you’re resting on your forearms, elbows below your shoulders, and hands pointing forward. You should look at the floor with your head freely.
- Engage your abdominal muscles to draw your navel toward your spine. Maintain a rigid torso and a straight line from your ears to your toes, with no sagging or bending.
- Hold this pose for a total of 30 seconds. If you start to get weak, slowly lower your knees to the ground.
- Rest for a few seconds here before returning to the plank position. Work your way up to 45 or 60 seconds over time.
- Breathing pattern and proper form: This is a neutral spine position. Check that your shoulders are not creeping up toward your ears. Ensure your heels are higher than your toes. Slowly inhale and exhale while keeping your movement steady and controlled.
3. Side plank
Muscle group: arms, core, back.
- Instructions
-
- Lie on your right side, legs straight, feet stacked on top of each other. Place your right elbow beneath your right shoulder, your forearm pointing away from you, and hand balled into a fist. Your pinky finger should be in contact with the ground. Make sure your head is in line with your spine. Your left arm can be aligned along your body’s left side or put on your hip.
- Engage your abdominal muscles to draw your navel toward your spine.
- Breathe out and brace your core while keeping your neck neutral.
- Lift the hips off the ground; this time, your elbow and the side of your right foot support your weight. There is no sagging or bending in your torso from your ankles to your head. Maintain your position.
- Inhale and turn back to the starting position after several breaths. The goal should be to hold the position for 60 seconds.
- Rep on the opposite side.
- Breathing pattern and proper form: Maintain a forward-facing posture with your hips stacked. Try not to rotate your body. During this workout, try not to let your hips sag, keep your face and bottom hand relaxed. Slowly inhale and exhale while maintaining a steady and controlled movement.
4. Bicycle crunches
Muscle group: abdominals.
- Instructions
-
- Lie on the mat with your back to the ground and your knees bent. Your feet should be flat on the ground. Put your hands next to your head (behind your ears, not your head or neck, as this will tempt you to pull your head up).
- Draw your abdomen in to help stabilize your spine. Raise your knees to a 90-degree angle, shins parallel to the floor, and lift your shoulder blades off the floor. (Avoid straining or pulling on your neck.)
- Next, turn your upper body to the right, bringing your left elbow toward your right knee as you straighten your left leg out at about a 45-degree angle. (Make sure the movement originates in your rib cage and not just your elbows.)
- Then, rotate your torso to make your elbow touch the opposite knee as it rises.
- Twist to the opposite side. Draw the knee towards your armpit and extend the opposite leg until your elbow touches the alternate knee.
- Return to the center, both knees bent and elbows spread.
- Perform three 15–25 reps sets, resting for 30 seconds to one minute between sets.
- Breathing pattern and proper form: It’s time to back off if you find yourself straining your neck to get your knee and elbow closer together. Instead, unlace your fingers and place them gently on the back of your head to avoid being tempted to push too far. Slowly inhale and exhale while keeping your movement steady and controlled.
5. Reverse crunches
Muscle group: abdominals.
- Instructions
-
- Lie face-up on the mat, knees bent at 90 degrees, and feet flat on the floor. Put your arms close to your sides and your palms pressed against the ground to maintain balance.
- Exhale and tighten your abs. Lift your feet off the mat, gradually raise your legs until your knees are over your hips, and put your lower legs parallel to the ground (bent 90 degrees). This is the start position.
- Tuck your knees in toward your face as far as you can without lifting your mid-back off the mat. At the same time, lift your hips and lower back off the ground. Your head should be straight, and your neck and shoulders should be relaxed and flat on the mat. When you can’t curl without your back slipping off the mat, hold.
- Hold for a moment, inhale, and slowly return to the starting position, with your hips back on the mat and your knees still bent 90 degrees over your hips.
- Repeat for at least 10-12 times. Start with one set, then gradually increase the number of reps and set as you gain strength.
- Breathing pattern and proper form: When you tuck forward, your hips and lower back should come off the mat, but your mid-back should remain on the mat. If you feel pain in your back or anywhere else, come to a halt. You should feel a burning sensation in your abdomen, not a sharp pain. Slowly inhale and exhale while maintaining a steady and controlled movement.
6. Glute bridge walkout
Muscle group: glutes, back, hamstrings.
- Instructions
-
- Begin by lying supine on the floor. Bend your knees and then put your feet flat on the ground, close to your glutes. This is your starting position.
- Extend your hips and drive off the floor through the heels, and contract the glutes to lift the hips to the ceiling. From your shoulders to your knees, form a straight line.
- Step forward with your right foot first, then your left, staying on your heels. Keeping your glutes lifted, take small steps forward until your legs are nearly straight. Continue this movement until your legs are fully extended and your heels support your weight.
- Hold the walkout position for a few seconds before taking alternate steps back to return to the bridge position. Repeat the number you desire.
- Breathing pattern and proper form: Slowly inhale and exhale while maintaining a steady and controlled movement.
7. Half-kneeling halo
Muscle group: Shoulders (rhomboids, deltoids, trapezius), abdominal muscles, forearms.
- Instructions
-
- Begin in a half-kneeling position with your knees bent at 90-degree angles and your left foot in front of you.
- Engage your core while holding a dumbbell or kettlebell in front of your chin, horns up (the vertical sides of the handle). Then move it around your head to the left and return to the starting position. That counts as one circle.
- Perform as many reps as 30 seconds, then switch directions for the final 30 seconds.
- Begin the second set with your right foot in front.
- Breathing pattern and proper form: Remember to keep a regular breathing pattern throughout the exercise. You may be lifting too much weight if you find yourself frequently holding your breath.
8. Inchworm push-up
Muscle group: hamstrings, lower back, glutes, and calves.
- Instructions
-
- Stand up straight, your feet roughly hip-distance apart, and your knees slightly bent.
- Inhale deeply, then exhale by looking down at the ground and reaching your hands toward the mat in front of your feet; bend your back forward, one vertebra at a time.
- Inhale and walk your hands forward, lifting your heels off the floor as your body straightens, and repeat until you reach full plank position.
- Maintain a relatively straight back and start walking your feet forward toward your hands one at a time.
- Stop when your feet are likely to touch your hands.
- Return to standing by slowly rolling your hips up and straightening one vertebra at a time. Inhale as you walk. You’ve completed one repetition when you’re back in the starting position.
- Continue for time or repetitions.
- Breathing pattern and proper form: Slow down, concentrate on engaging your entire body from head to toe, and make smooth, controlled steps.
9. Modified side plank with oblique crunch
Muscle group: arms, shoulder, core.
- Instructions
-
- Begin on one side, with your right forearm on the mat, and form a straight line from your head to your feet. Bend your right knee 90 degrees, keeping it planted so that your foot is behind you. Raise your hips off the ground and extend your left arm overhead. This is your starting posture.
- Lift your left leg 45 degrees as you draw your left elbow toward your left hip with a side crunch, keeping your knees straight and pointed toes. Return to the starting position. That counts as one rep.
- Repeat many reps in 30 seconds, then switch sides for the final 30 seconds.
- Breathing pattern and proper form: Remember to keep a regular breathing pattern throughout the exercise. Slowly inhale and exhale while maintaining a steady and controlled movement.
10. Oblique crunch
Muscle group: oblique muscles.
- Instructions
-
- Lie on your back as if you were about to do a sit-up. Hands should be placed behind your head to support your neck. Don’t let your chin come into contact with your chest.
- Curl up towards your hips, keeping your torso rigid until your shoulders are about 3 inches off the floor. Hold the pose for seconds before slowly lowering yourself.
- To develop general core strength, perform three sets of 20 to 30 reps per side.
- Breathing pattern and proper form: Remember to keep a regular breathing pattern throughout the exercise. Slowly inhale and exhale while maintaining a steady and controlled movement.
11. Dead bug
Muscle group: Core muscles: transverse abdominis and spinal erectors.
- Instructions
-
- Lie on your back with your feet flat on the ground and your knees bent. Put your arms to rest comfortably at your sides.
- Firmly press your lower back and shoulders into the floor. Take care of your shoulders (keep them down and away from your ears).
- Raise your arms. Elbows should be higher than shoulders, and hands should be facing inward.
- Raise your legs, keeping your knees directly over your hips.
- Exhale slowly and lower your right arm and left leg simultaneously. You should come to a halt just before you reach the ground.
- Bring back to the starting position with an inhale—rep on the opposite side.
- Repeat the same number of times on each side. Place your feet back on the mat and sit up when you’ve finished a complete set.
- Breathing pattern and proper form: Slow down, way down. When it comes to stability, slow and steady wins the race. If you believe you are moving too quickly, try slowing down even more. Moreover, slowly inhale and exhale while keeping your movement steady and controlled.
12. Stomach crunch
Muscle group: abdominal muscles.
- Instructions
-
- Lie on your back, bend your knees, and put your hands behind your head or across your chest. Your fingers should gently cradle your head if you put your hands behind your head.
- Pull your belly button towards your spine.
- Slowly contract your abdominals, lifting your shoulder blades 1 to 2 inches off the floor.
- Exhale as you rise, keeping your neck straight and your chin up. That is the angle you want to keep your chin at the entire time.
- Hold for a few seconds at the top of the movement, breathing continuously.
- Slowly lower yourself back down, but don’t completely relax.
- Repeat 15 to 20 times with perfect form for each repetition.
- Breathing pattern and proper form: Put your fist under your chin to keep your neck in proper alignment and from moving. Slowly inhale and exhale while keeping your movement steady and controlled.
Liftyolife (liftyolife.com) hopes the 10 minute ab workout mentioned above will help you say goodbye to fat and hello to six-pack abs. If you suffer from neck or back problems, consult your doctor or physical therapist to see if crunches are safe.
==> Read More:


